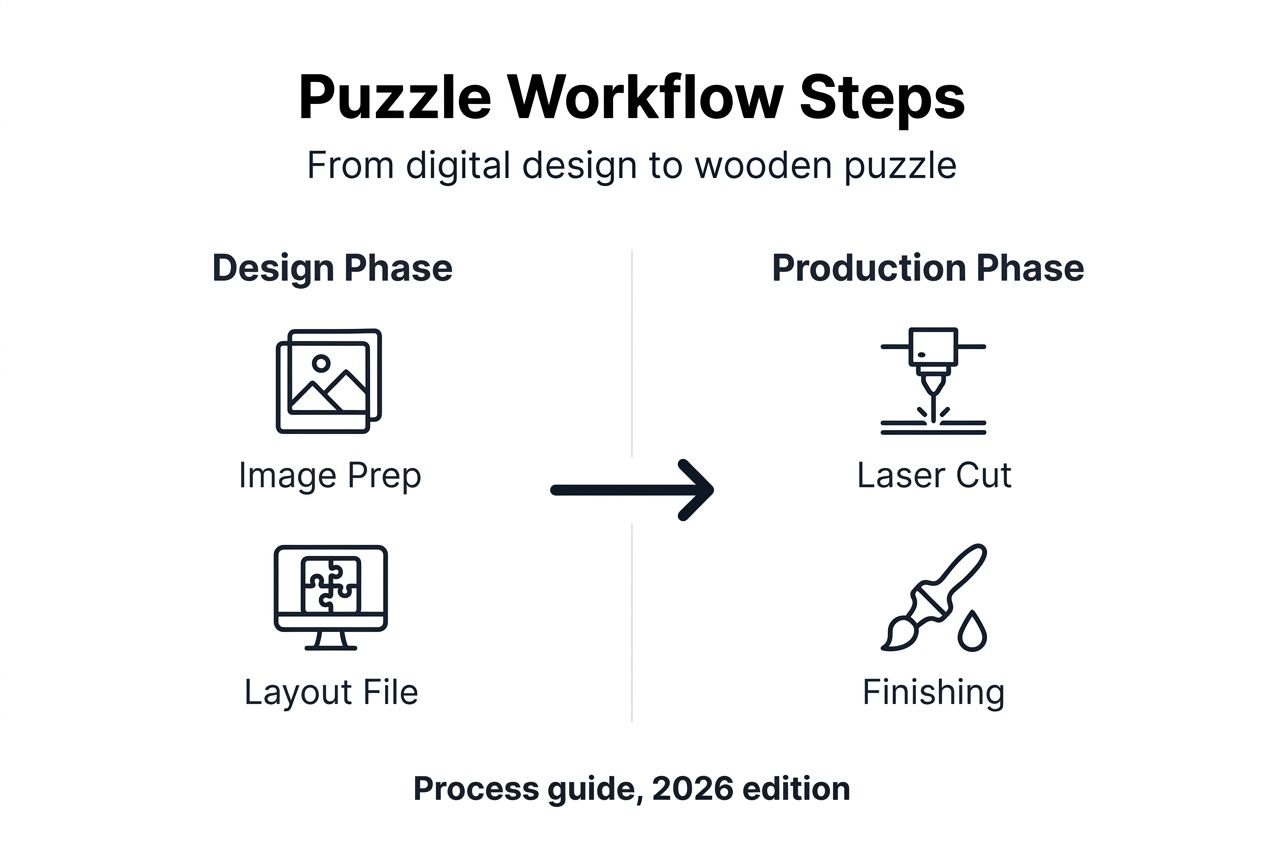
Finding a truly unique puzzle that reflects your personality or makes a meaningful gift can feel impossible when stores offer the same mass-produced designs. Custom wooden puzzles solve this problem by letting you transform personal photos and ideas into handcrafted keepsakes. This guide walks you through the complete 2026 workflow for designing, cutting, and finishing your own sustainable wooden puzzle from start to finish.
Table of Contents
- What You Need: Tools, Materials, And Prerequisites For Custom Puzzle Design
- Step-By-Step Execution: Designing, Customizing, And Prepping Your Puzzle File
- Manufacturing And Finishing: Laser Cutting, Material Choice, And Assembly
- Verification And Finishing Touches: Quality Check, Packaging, And Presentation
- Explore Unique Wooden Puzzles And Custom Design Services At Lubiwood
Key takeaways
| Point | Details |
|---|---|
| Digital tools streamline design | Puzzle generators let you create custom designs from photos with adjustable difficulty and piece styles. |
| Material choice drives quality | FSC-certified woods and proper thickness balance durability, aesthetics, and environmental responsibility. |
| Precision cutting matters | Laser cutters and CNC machines deliver intricate shapes and tight tolerances for professional results. |
| Image quality affects outcomes | Minimum 300 DPI resolution prevents blurry prints and ensures sharp detail transfer. |
| Finishing touches elevate presentation | Quality checks, eco-friendly packaging, and display options transform puzzles into lasting decor. |
What you need: tools, materials, and prerequisites for custom puzzle design
Before diving into design work, gather the right equipment and materials to ensure smooth execution. Your toolkit determines the quality and sustainability of your finished puzzle.
Start with digital design software. The VectorWitch Puzzle Generator allows users to create custom jigsaw puzzles from their own photos, offering both free and premium features. This online puzzle generator tool handles image upload, piece customization, and file export without complex CAD knowledge.
Your source image quality directly impacts the final product. Use photos with minimum 300 DPI resolution to prevent blurry prints and maintain detail clarity. Higher resolution images give you more flexibility when scaling designs across different puzzle sizes.
For physical production, you need cutting equipment. Laser cutting machines excel at intricate curves and rapid prototyping, while CNC routers provide exceptional precision for complex interlocking pieces. Many makerspaces and fabrication labs offer hourly access if you don’t own equipment.
Material selection balances aesthetics, durability, and environmental values:
- Sustainable materials, such as FSC-certified wood, are increasingly used in wooden puzzle production to minimize environmental impact
- Hardwoods like maple and cherry offer beautiful grain patterns and long-lasting strength
- Birch plywood provides affordable quality with consistent thickness
- Chipboard thickness between 1.5-2mm provides durability without excessive cost for budget-conscious projects
| Material Type | Best For | Sustainability Rating |
|---|---|---|
| FSC-certified birch | Eco-conscious gifts | Excellent |
| Maple hardwood | Heirloom quality | Good |
| Standard plywood | Practice runs | Fair |
| Chipboard | Budget projects | Fair |
Stock up on finishing supplies including sandpaper, wood oil or varnish, and packaging materials. Eco-friendly packaging aligns with sustainable material choices and appeals to environmentally conscious gift recipients.
Pro Tip: Order extra wood sheets for test cuts. Dialing in your laser or CNC settings on scrap material saves expensive wood and prevents ruined custom images.
Once you’ve assembled your tools and materials, you’re ready to begin the digital design process that transforms ideas into cuttable files. Learning creating custom wooden puzzles techniques helps you avoid common beginner mistakes.
Step-by-step execution: designing, customizing, and prepping your puzzle file
With your materials ready, follow these steps to create a polished digital puzzle design optimized for physical production.
-
Choose and upload your image. Select a high-resolution photo with good contrast and clear subject matter. Busy patterns or low-contrast images create frustrating puzzles where pieces look too similar. Portrait photos, landscapes with distinct elements, and artwork with bold colors work best.
-
Set puzzle parameters. The puzzle generator offers customization options for difficulty and piece styles. Choose from Easy (20-50 pieces), Medium (50-200 pieces), Hard (200-500 pieces), or Expert (500+ pieces) based on your intended audience and use case. Piece styles include classic Jigsaw, organic Soft curves, or geometric Rounded shapes.
-
Preview and adjust. Review the digital mockup carefully. Check that important image elements don’t fall awkwardly across piece boundaries. Adjust piece count or rotation if faces or text get split in distracting ways.
-
Export your files. Users can export the completed puzzle image as a PNG file for printing or sharing. Download the SVG vector file for laser cutting, which contains the precise cut paths your machine needs. Keep both files organized with clear naming conventions.
-
Prepare for production. Open your SVG in design software compatible with your cutting equipment. Verify that image layers (raster engraving) and cut lines (vector cutting) are properly separated. Set raster power for image transfer and vector settings for clean edge cuts.
Key considerations during file prep:
- Ensure your image fits within material dimensions with margin for handling
- Add registration marks if printing image separately from cutting
- Double-check piece count matches your intended difficulty level
- Verify cut line thickness won’t create gaps or overlaps
Pro Tip: Create a small test puzzle (10-15 pieces) from the same image before committing to your full design. This reveals any image quality issues or piece fit problems while using minimal material.
Digital design mistakes cost time and materials during production. Spending extra minutes verifying settings and dimensions prevents expensive do-overs. With your files perfected, you’re ready to move into physical manufacturing where custom puzzle design features become tangible products.
Manufacturing and finishing: laser cutting, material choice, and assembly
Transforming digital files into physical puzzles requires understanding your cutting equipment and material properties. Manufacturing choices dramatically affect puzzle quality and longevity.
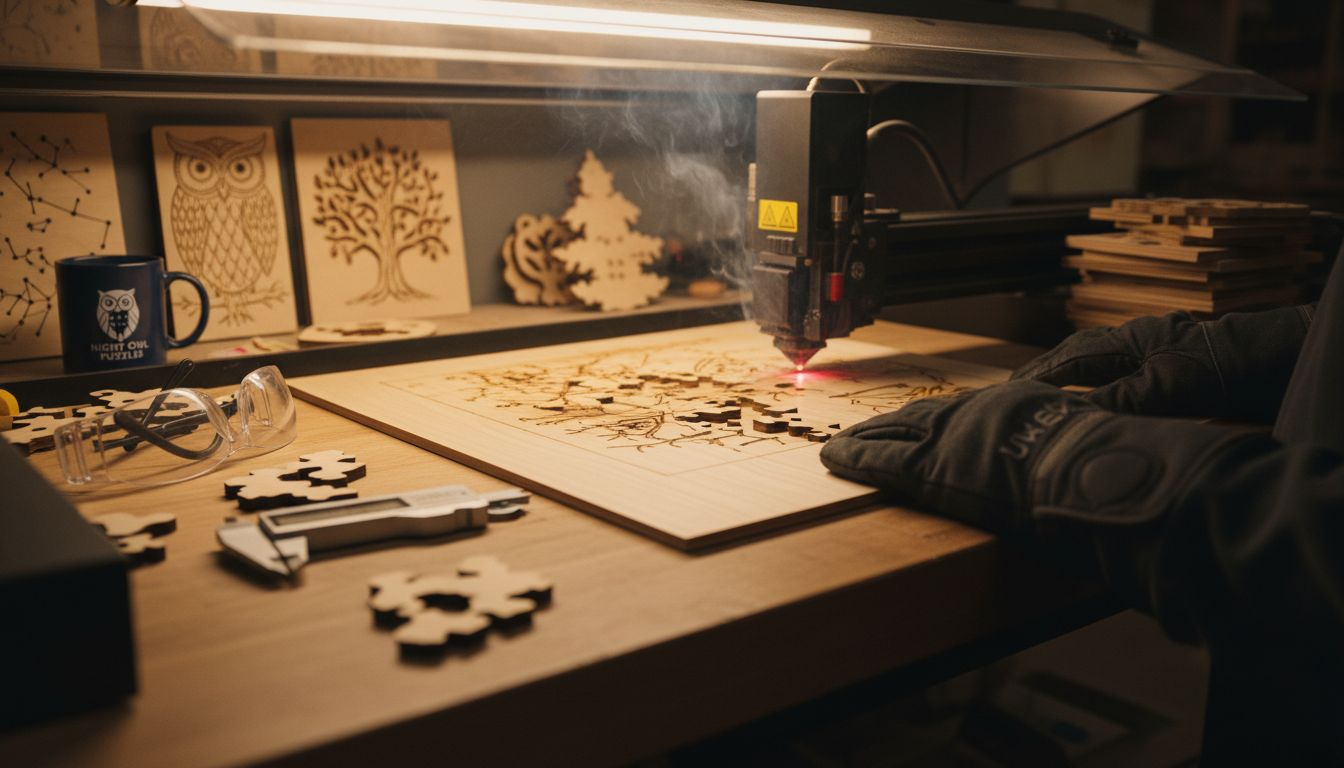
Laser cutting process follows a two-step sequence. First, the machine rasters your image onto the wood surface using controlled power settings that burn or mark the material. This transfers your photo with remarkable detail. Second, the laser traces vector cut lines at higher power to separate individual pieces. Getting this sequence wrong ruins your puzzle, so always verify machine settings before starting.
Laser-cut wood puzzles offer heirloom durability and unique piece shapes, but come with higher costs and longer lead times compared to die-cut alternatives. The investment pays off in quality and customization flexibility.
Wood selection impacts both aesthetics and puzzle performance:
- Maple and cherry hardwoods provide stunning grain patterns that enhance natural photo elements
- These dense woods resist warping and handle frequent assembly without wear
- Hardwood weight gives pieces a premium feel that elevates the puzzle experience
- FSC-certified birch veneer plywood ensures products come from responsibly managed forests while offering consistent quality
| Wood Type | Durability | Cost | Best Use Case |
|---|---|---|---|
| Maple hardwood | Excellent | High | Heirloom gifts |
| Cherry hardwood | Excellent | High | Display pieces |
| Birch plywood | Very good | Medium | Regular use |
| Pine softwood | Good | Low | Practice/kids |
For maximum precision, the use of CNC machines in wooden puzzle design allows for precise and repeatable cuts enhancing complexity and durability. CNC routers excel at intricate interlocking mechanisms that laser cutters struggle to achieve. The trade-off comes in setup time and equipment cost.
Pro Tip: Run laser settings tests on scrap wood matching your final material. Wood moisture content, grain direction, and species all affect optimal power and speed settings. What works for one piece of maple may need adjustment for another.
Finishing touches protect your investment and enhance appearance. Light sanding smooths any char marks from laser cutting without removing image detail. Apply food-safe mineral oil or specialized puzzle finish to seal the wood and bring out natural grain beauty. Let pieces dry completely before packaging.
Quality assembly matters even before gifting or personal use. Fit pieces together once to verify smooth interlocking without forcing or gaps. This final check catches any production issues while you can still address them. Exploring wooden jigsaw puzzles from experienced makers shows what professional finishing looks like.
With manufacturing complete, your custom puzzle needs careful quality verification and thoughtful presentation to ensure it delivers the intended wow factor.
Verification and finishing touches: quality check, packaging, and presentation
Even carefully executed puzzles require thorough inspection before gifting or display. Systematic quality checks prevent disappointment and showcase your craftsmanship.
Begin with a complete assembly test. Fit every piece together on a clean, flat surface to verify interlocking mechanisms work smoothly. Watch for these common issues:
- Pieces requiring excessive force to connect indicate tolerances are too tight
- Visible gaps between assembled pieces suggest cuts drifted or warped
- Loose pieces that don’t stay connected mean tolerances are too wide
- Image misalignment across piece boundaries reveals raster/vector sync problems
Image quality deserves separate scrutiny. Inspect color fidelity against your original photo, checking that laser settings didn’t over-burn or under-transfer detail. Prioritize image resolution and digital mockup approval to ensure the final product meets expectations before committing to full production runs.
-
Check all edges. Run your finger along piece edges feeling for rough spots or splinters that need additional sanding. Smooth edges improve the puzzle experience and prevent skin irritation during extended assembly sessions.
-
Verify piece count. Count actual pieces against your design specifications. Missing or extra pieces indicate cutting path errors that need troubleshooting before making additional puzzles.
-
Test durability. Gently stress-test interlocking tabs to ensure they won’t break during normal use. Fragile connections suggest material thickness or piece geometry needs adjustment.
-
Assess overall appearance. Step back and view the assembled puzzle from several feet away. The image should read clearly without distracting cut lines or manufacturing artifacts.
Packaging elevates your puzzle from craft project to professional gift:
- Use eco-friendly materials like recycled cardboard boxes or cloth bags to align with sustainability values
- Include a reference image showing the completed puzzle to guide assembly
- Add care instructions for wood maintenance and storage
- Consider custom labels or stamps that personalize the presentation
For puzzles intended as lasting decor, presentation options multiply. Frame completed puzzles using methods detailed in wooden puzzle framing tips that preserve your handcrafted work. Shadow boxes add dimensional interest, while standard frames work well for flatter designs.
“The difference between a good puzzle and a great one often comes down to finishing details. Taking time to sand edges smooth, apply protective finish, and present thoughtfully transforms a craft into an heirloom.”
Document your process with photos at each stage. This creates valuable reference material for future projects and helps troubleshoot any issues that arise. Build a portfolio showcasing your best work to share with friends or even launch a small custom puzzle business.
Quality verification takes patience but protects your time investment and ensures recipients experience the joy you intended. With these skills mastered, you can confidently create custom wooden puzzles for any occasion.
Explore unique wooden puzzles and custom design services at Lubiwood
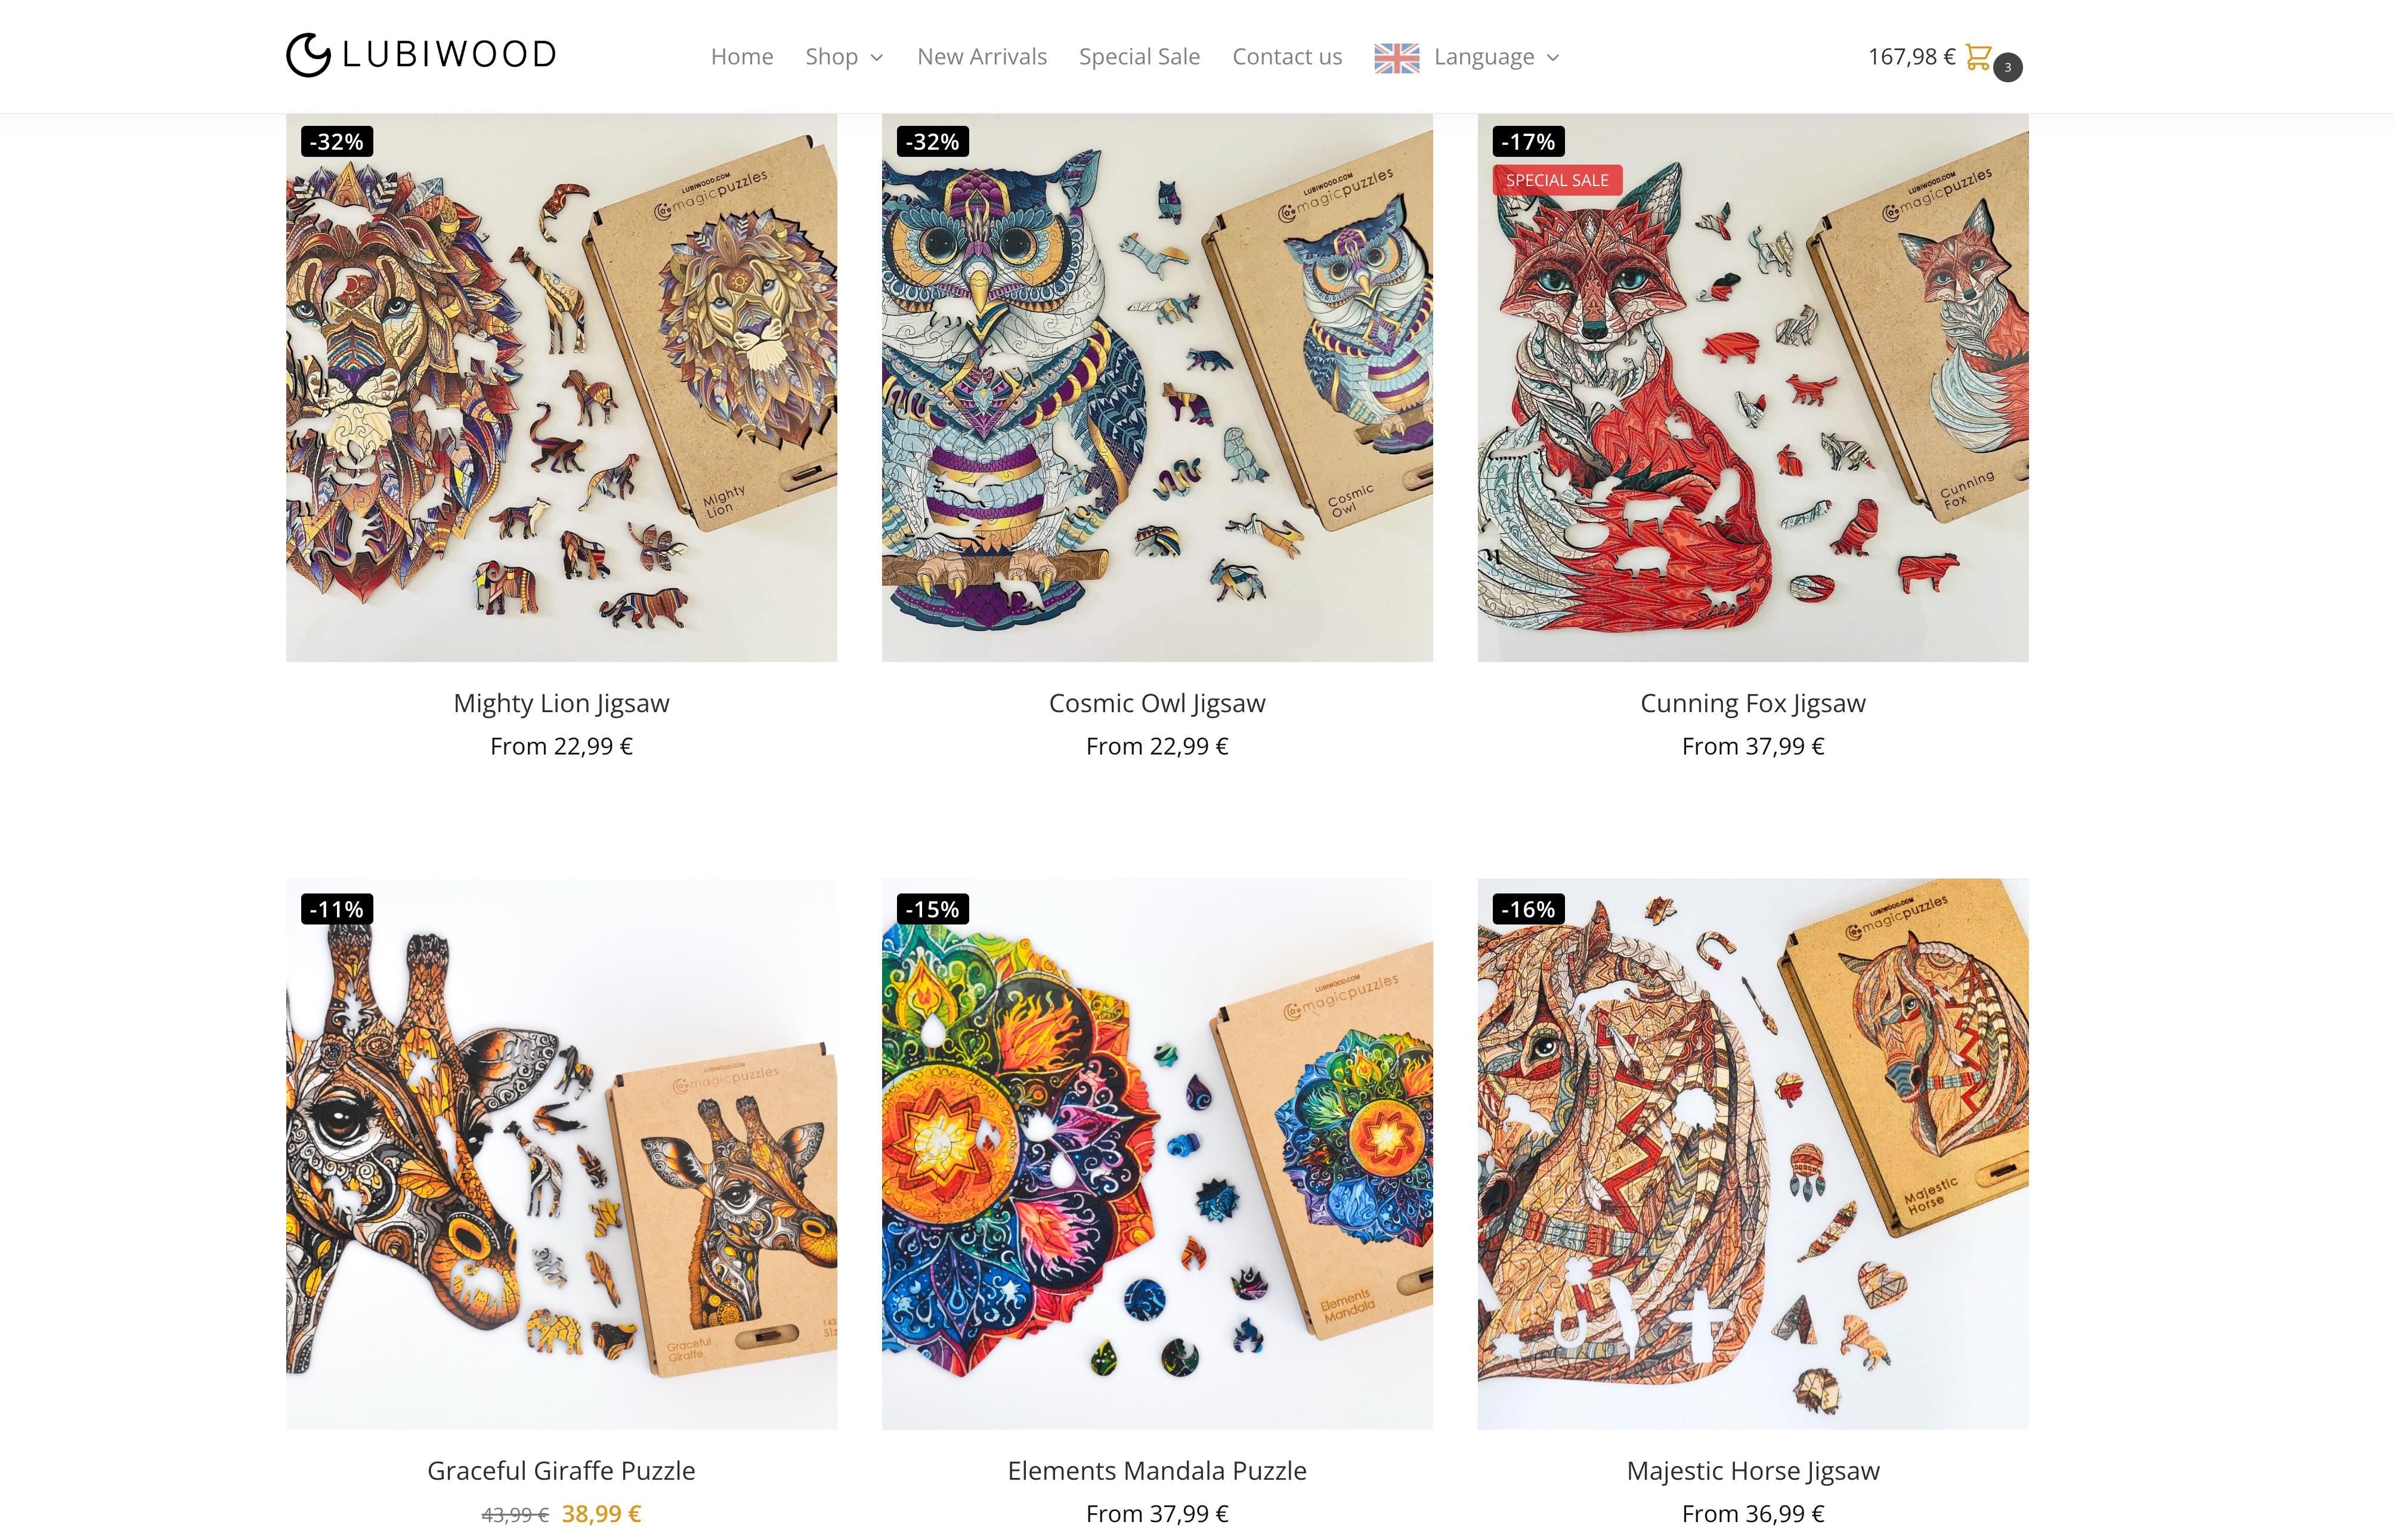
Ready to see professional custom puzzle craftsmanship in action? Lubiwood specializes in handcrafted wooden jigsaw puzzles that showcase the artistry and precision you’ve learned to create. Each puzzle features laser-cut premium wood with intricate piece shapes designed for both challenging assembly and stunning display.
Beyond flat puzzles, explore 3D wooden puzzles that add architectural complexity to your collection. These dimensional designs demonstrate advanced cutting techniques and creative piece engineering. Whether you’re seeking inspiration for your next custom project or want to experience expertly crafted puzzles firsthand, Lubiwood’s sustainable materials and attention to detail align perfectly with the quality standards covered in this guide. Check the wooden puzzle size guide to find dimensions that match your vision and intended use.
FAQ
What image resolution is best for custom puzzles?
Use photos with minimum 300 DPI to prevent blurry prints and maintain sharp detail during laser engraving. Higher resolution images (600+ DPI) provide even better results when scaling designs or working with fine details. Images below 300 DPI produce muddy, pixelated puzzles that disappoint recipients and waste materials.
How does laser cutting compare to CNC machining for wooden puzzles?
CNC machines provide precise, repeatable cuts with micro tolerances enhancing durability and allowing complex interlocking mechanisms. Laser-cut wood puzzles offer heirloom durability and unique pieces but cost more and take longer due to sequential cutting processes. Choose CNC for production runs requiring tight tolerances, laser cutting for prototyping and artistic piece shapes. Both methods deliver professional results when settings are optimized.
What are the benefits of using FSC-certified wood in puzzle making?
FSC-certified wood ensures responsibly managed forests and environmental benefits including biodiversity protection and carbon sequestration. This certification guarantees your puzzle materials support sustainable forestry practices rather than contributing to deforestation. FSC woods also provide social and economic benefits to forest communities while delivering the same quality and workability as non-certified alternatives.
How long does it take to design and cut a custom wooden puzzle?
Digital design typically requires 1-2 hours for beginners including image selection, parameter adjustment, and file preparation. Laser cutting time varies by piece count and material, ranging from 30 minutes for simple 50-piece puzzles to 3+ hours for complex 500-piece designs. Add another hour for finishing work including sanding, oiling, and quality inspection. Total project time spans 3-6 hours for most custom puzzles.
Can I create custom puzzles without expensive equipment?
Yes, many makerspaces, libraries, and fabrication labs offer hourly access to laser cutters and CNC machines at affordable rates. Online services also accept your design files and ship finished puzzles, though this increases cost and turnaround time. Some puzzle makers partner with local woodworking shops to access equipment in exchange for sharing skills or finished products. Start by researching maker communities in your area.
