Creating custom wooden puzzles can feel overwhelming when 30% of beginners struggle with fitting issues from poor material choices. This comprehensive guide simplifies the entire process, walking you through eco-friendly materials, precise cutting techniques, and sustainable finishing methods. You’ll gain confidence crafting beautiful, durable puzzles that friends and family will treasure for years.
Table of Contents
- Prerequisites: Materials, Tools, And Sustainability Considerations
- Step-By-Step Puzzle Design And Preparation
- Crafting Custom Wooden Puzzles: Tools And Techniques
- Finishing Touches: Enhancing Puzzle Aesthetics And Durability
- Troubleshooting Common Problems And Safety
- Expected Results And Timelines
- Explore Custom And Eco-Friendly Wooden Puzzles At Lubiwood
- Frequently Asked Questions
Key Takeaways
| Point | Details |
|---|---|
| Sustainable Materials | Use FSC-certified Baltic birch plywood 3-6 mm thick for durable, eco-friendly puzzles that fit precisely. |
| Precision Cutting | Laser cutting offers 0.1 mm detail enabling intricate custom piece designs impossible with traditional methods. |
| Safe Finishes | Natural oils or water-based sealants enhance durability by 40% while remaining environmentally safe. |
| Safety Standards | Proper ventilation requires 12 air changes per hour with protective masks during cutting operations. |
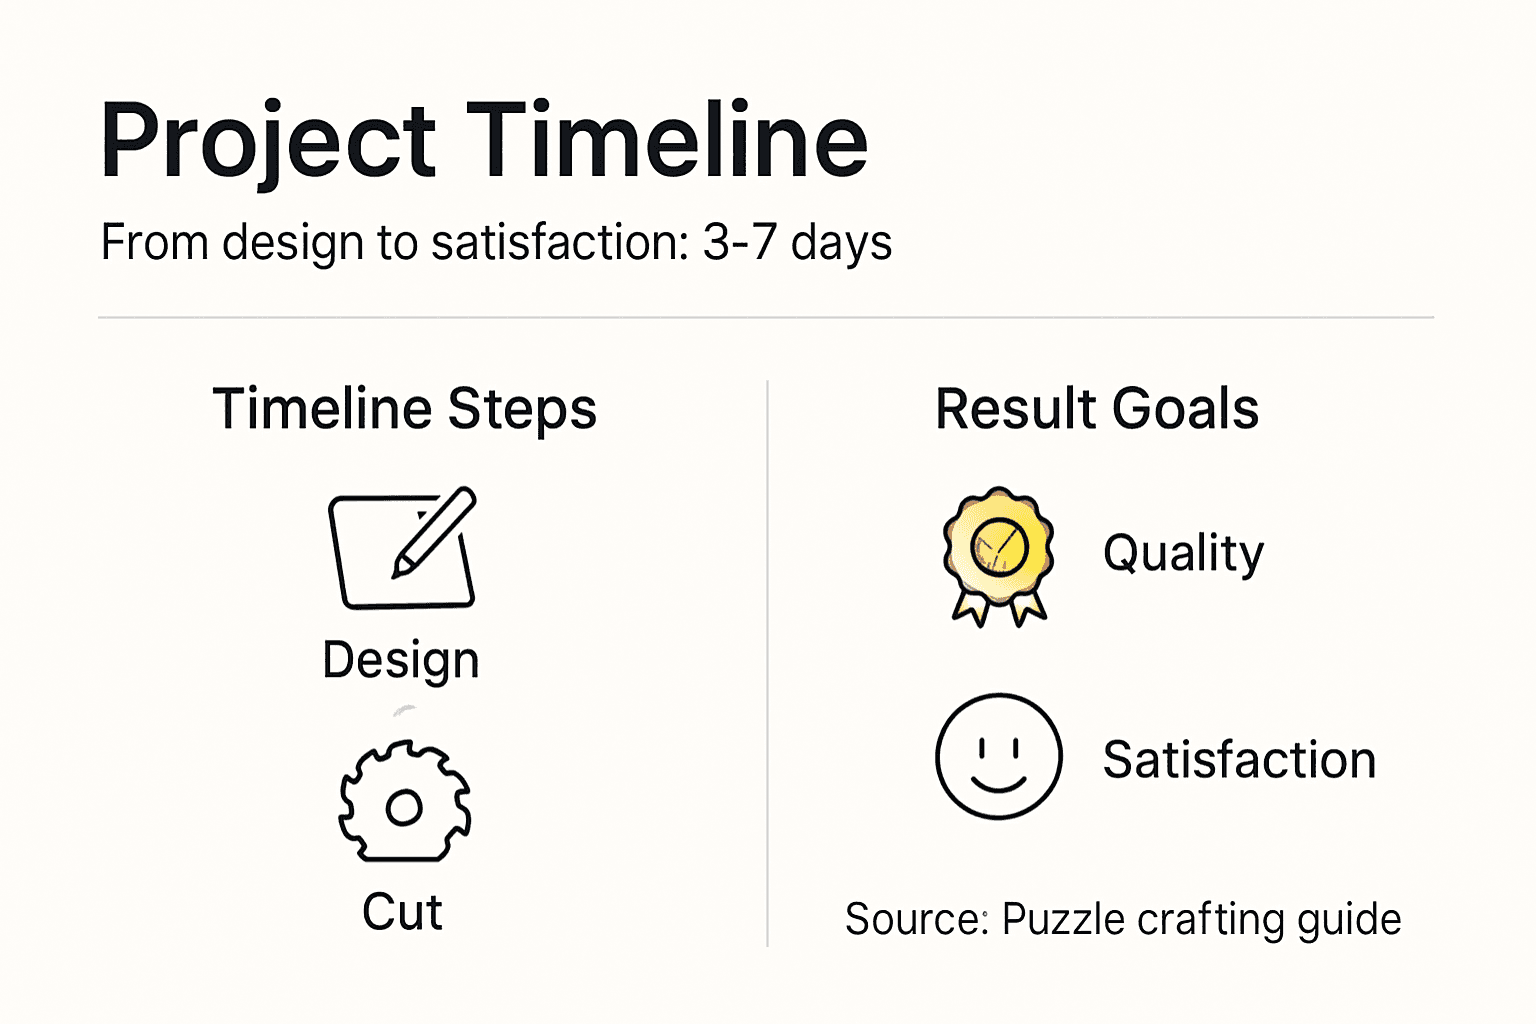
| Project Timeline | Design to finish typically takes 3-7 days with 90% customer satisfaction on sustainable puzzles. |
Prerequisites: Materials, Tools, and Sustainability Considerations
Before you start cutting wood, gather the right supplies and understand sustainability principles. Your material choice directly impacts puzzle quality, environmental footprint, and customer satisfaction.
Select FSC-certified Baltic birch plywood between 3-6 mm thick. This sustainable wood provides excellent durability and precision fit for puzzle pieces. Baltic birch resists warping and splits less than alternatives, making it ideal for intricate designs. The certification ensures your puzzles support responsible forest management.
You’ll need specific tools to transform raw wood into finished puzzles. A laser cutter or CNC router forms the foundation of your workshop. Vector design software like Adobe Illustrator or free Inkscape creates precise templates. Sanding supplies smooth rough edges. Safety equipment including masks and proper ventilation protects your health during production.
Essential Workshop Setup:
- Laser cutter or CNC router for precise piece cutting
- Vector design software for template creation
- Sanding supplies in various grits (120-220)
- Safety masks rated for wood dust and fumes
- Ventilation system with 12 air changes per hour minimum
Sustainable Materials Table:
| Material | Thickness | Sustainability Notes |
|---|---|---|
| Baltic Birch Plywood | 3-6 mm | FSC-certified, minimal warping, excellent stability |
| Natural Oils | N/A | Zero VOCs, biodegradable, enhances wood grain |
| Water-Based Sealants | N/A | Low toxicity, fast drying, food-safe options available |
Exploring the 3D wooden puzzles available shows how premium materials create stunning results. The special qualities of Lubiwood puzzles demonstrate what’s possible with proper material selection and craftsmanship.
Use eco-friendly finishes exclusively. Natural oils penetrate wood fibers to enhance durability without toxic chemicals. Water-based sealants dry quickly and provide protective coatings safe for children and pets. Both options align with sustainable crafting principles while delivering professional results.
Pro Tip: Store Baltic birch flat in climate-controlled spaces to prevent warping before cutting. Even slight curves compromise piece fit and frustrate assembly.
Ventilation cannot be overlooked. Laser cutting releases fumes that require proper air circulation. Install systems providing at least 12 air changes per hour in your workspace. Wear appropriate masks even with ventilation to protect respiratory health. Browse the wooden jigsaw puzzles collection to see professionally finished examples that meet safety and quality standards.
Step-by-Step Puzzle Design and Preparation
Digital design transforms your creative vision into cuttable templates. This phase determines piece complexity, aesthetic appeal, and assembly difficulty.
Vector software creates precise templates that laser cutters and CNC routers interpret accurately. Adobe Illustrator offers professional features but requires purchase. Inkscape provides comparable functionality completely free. Both programs handle the vector paths needed for clean cutting.
Designing unique interlocking shapes requires balancing creativity with practicality. Pieces must fit together securely without excessive force. Traditional jigsaw knobs and holes work reliably, but custom shapes add personality. Aim for 20% waste reduction by optimizing piece layout across your wood sheet. Tight nesting conserves materials and reduces costs.
Design Process Steps:
- Select or create artwork scaled to your desired finished puzzle size
- Create template outline defining overall puzzle dimensions and shape
- Distribute pieces across the template using interlocking patterns
- Adjust individual piece shapes for uniqueness while maintaining structural integrity
- Generate test prints on paper to verify fit and visual appeal
- Refine design based on prototype assembly experience
Paper prototypes save expensive wood and cutting time. Print your template at full scale and cut pieces by hand. Assemble the paper version to identify fitting problems, visual balance issues, or pieces too fragile for actual use. Make adjustments in software before committing to wood.
Find puzzle design inspiration to spark creativity while learning what resonates with puzzle enthusiasts. Studying successful designs reveals patterns in piece distribution, difficulty levels, and aesthetic choices.
Pro Tip: Create 15-25% more complex edge pieces than center pieces. Edges guide assembly and deserve extra attention to shape variety and visual interest.
Consider cutting efficiency throughout design. Grouping similar shapes reduces machine repositioning time. Minimizing tiny slivers between pieces prevents waste and preserves wood integrity. Vector paths should close completely to ensure clean cuts without gaps.
Test multiple design iterations before finalizing. Small adjustments to piece size, shape complexity, or artwork placement significantly impact the finished puzzle experience. Invest time refining your template to avoid disappointment after cutting expensive materials.
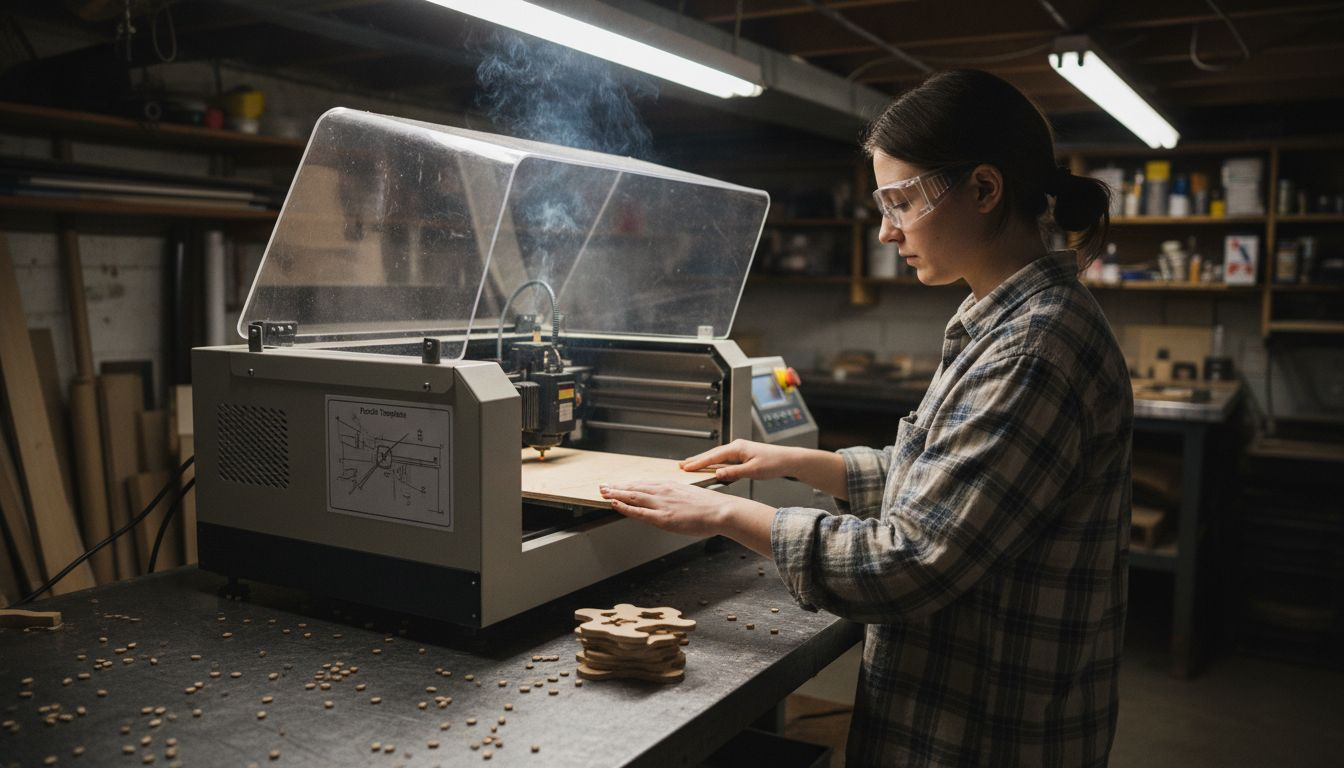
Crafting Custom Wooden Puzzles: Tools and Techniques
Transforming digital designs into physical puzzles requires understanding cutting technologies and wood handling techniques. Precision during this phase determines final puzzle quality.
Laser cutting delivers 0.1 mm precision enabling intricate interlocking pieces impossible through traditional methods. Laser technology vaporizes wood along vector paths, creating smooth edges with minimal finishing required. The narrow kerf width preserves material and allows tighter piece nesting. Settings vary by wood thickness, so run tests before cutting your final puzzle.
CNC routing offers an alternative for thicker wood up to 12 mm. Routers remove material mechanically using spinning bits. This method suits 3D puzzle components better than flat jigsaws. Expect 1.5 mm radius edges from standard bits compared to laser’s sharp corners. CNC operates more slowly than laser but handles greater material thickness.
Cutting Method Comparison:
| Feature | Laser Cutting | CNC Router |
|---|---|---|
| Precision | 0.1 mm tolerance | 1.5 mm radius edges |
| Wood Thickness | 3-6 mm optimal | Up to 12 mm |
| Edge Quality | Smooth, minimal finishing | Requires more sanding |
| Speed | Fast for thin materials | Slower but handles thickness |
| Detail Level | Extremely intricate possible | Limited by bit diameter |
Handle wood carefully during cutting and assembly. Even small temperature or humidity changes cause expansion affecting piece fit. Work in climate-controlled environments when possible. Support larger sheets fully to prevent sagging during cutting, which creates angled cuts rather than perpendicular edges.
Assemble test pieces immediately after cutting to verify fit. Non-toxic wood glue bonds pieces permanently if creating display puzzles. Most custom puzzles remain unglued, allowing repeated assembly. Check that pieces slide together with slight resistance, neither loose nor requiring force.
Safe Handling Practices:
- Store cut pieces flat in sealed containers to maintain moisture levels
- Avoid touching fresh laser cut edges until cooled to prevent burns
- Support all wood sections during cutting to prevent vibration and miscuts
- Clean sawdust frequently to maintain accurate cutting paths
Browse natural wooden puzzles and animal-themed wooden puzzles to see professional cutting quality standards. Notice how pieces fit together smoothly without gaps or excessive force required.
Monitor your cutting equipment closely. Dull laser lenses or worn router bits produce rough edges requiring extensive sanding. Replace consumables proactively to maintain quality. Clean equipment after each project to prevent residue buildup affecting future cuts.
Finishing Touches: Enhancing Puzzle Aesthetics and Durability
Proper finishing transforms raw cut wood into polished puzzles that last generations. Eco-friendly products protect both puzzles and planet.
Apply natural oils or water-based sealants to enhance durability while maintaining environmental responsibility. Eco-friendly finishes penetrate wood fibers, increasing surface hardness by up to 40% without toxic chemicals. Linseed oil, tung oil, and specialized puzzle oils work excellently. Water-based polyurethane provides harder protective coatings when greater durability is needed.
Sealants typically dry in 24-48 hours depending on humidity and temperature. Apply thin coats rather than heavy applications to prevent pooling in puzzle piece crevices. Multiple thin layers build better protection than single thick coats. Allow full curing time before packaging or gifting puzzles.
Sand all edges with fine-grit paper to remove splinters and improve tactile experience. Start with 120-grit to smooth obvious roughness, then progress to 180 and finish with 220-grit. Laser-cut edges require minimal sanding compared to CNC-routed pieces. Focus on corners and intricate details where rough spots hide.
Finishing Process Steps:
- Inspect all pieces for rough edges or burn marks from cutting
- Sand pieces systematically using progressively finer grits
- Remove all dust with compressed air or tack cloth
- Apply first thin coat of natural oil or water-based sealant
- Allow 24 hours drying time in well-ventilated space
- Lightly sand with 220-grit between coats if applying multiple layers
- Apply final coat and cure completely before handling
Avoid toxic chemical finishes that compromise health and puzzle longevity. Traditional lacquers and solvent-based varnishes release volatile organic compounds during application and curing. These products yellow over time and become brittle. Stick with natural or water-based options that age gracefully.
Explore Lubiwood puzzles to see professional finishing quality. Notice how natural wood grain remains visible beneath protective coatings. Quality finishes enhance rather than obscure wood’s inherent beauty.
Consider food-safe finishes if creating puzzles for young children. Many natural oils meet food-safe standards once fully cured. Verify product specifications before applying to children’s toys. Water-based finishes often carry food-safe certifications more readily than oil-based alternatives.
Troubleshooting Common Problems and Safety
Anticipating challenges helps you avoid frustration and craft safely. Learning from common mistakes accelerates your skill development.
Incorrect wood thickness causes the most frequent fitting problems. Wood thicker than 6 mm creates bulky puzzles difficult to handle and store. Thinner than 3 mm pieces break easily during assembly. Measure wood accurately before purchasing and verify thickness after cutting, as some suppliers list nominal rather than actual dimensions.
Safety requires proper ventilation during laser cutting operations. Burning wood releases fumes containing carbon monoxide, formaldehyde, and other harmful compounds. Install ventilation systems providing minimum 12 air changes per hour in your workspace. Position exhaust directly above cutting area to capture fumes at their source. Wear appropriate masks even with ventilation as backup protection.
Strict adherence to ventilation standards protects long-term health. Never compromise on air quality to save costs or installation effort. Your lungs deserve better.
Poor puzzle piece designs lead to non-fitting or fragile pieces that frustrate assemblers. Test templates thoroughly using paper prototypes before cutting expensive wood. Pay special attention to thin connectors between piece bodies and interlocking tabs. Reinforce weak points by slightly thickening vulnerable areas.
Common Problems and Solutions:
- Pieces too loose: Reduce kerf offset in cutting software by 0.1 mm increments
- Pieces too tight: Increase kerf offset or lightly sand interlocking surfaces
- Burn marks on edges: Reduce laser power or increase cutting speed
- Pieces breaking during assembly: Increase minimum feature size in design
- Uneven coloring after finishing: Sand more thoroughly before applying finish
Avoid toxic finishes to maintain health and product quality. Read ingredient labels carefully, as some products marketed as natural contain synthetic additives. Research unfamiliar ingredients before applying to projects you’ll handle frequently or give as gifts.
Pro Tip: Maintain a dedicated clean workspace separate from general woodworking areas. Sawdust contamination affects finish adhesion and introduces defects. Sweep and vacuum regularly between projects.
Visit the Lubiwood blog for ongoing tips and community wisdom about puzzle crafting challenges. Learning from experienced makers shortens your learning curve significantly.
Document problems and solutions in a project journal. Photography helps track what worked and what failed across multiple projects. Patterns emerge showing which techniques suit your workflow and equipment best.
Expected Results and Timelines
Understanding realistic timeframes and quality expectations helps you plan projects and manage anticipation. Quality crafting cannot be rushed.
Typical projects from design to finished puzzle span 3-7 days depending on complexity. Simple 50-piece puzzles with straightforward designs complete faster than intricate 500-piece creations with custom artwork. Professional puzzle makers report 90% customer satisfaction with sustainable, handcrafted puzzles meeting these timelines.
Natural oil finishes dry within 24-48 hours allowing safe handling and packing. Temperature and humidity affect drying times significantly. Warm, dry conditions accelerate curing while cold, humid environments extend drying. Plan finishing during favorable weather when possible or use climate-controlled spaces.
Weight and size guidelines affect handling ease and storage. Puzzles larger than 500 pieces become unwieldy for casual assembly. Consider creating multi-section puzzles for very large designs. Weight increases with wood thickness and finish coats, so balance durability against portability.
Project Timeline Stages:
- Design and template creation: 4-8 hours depending on complexity
- Paper prototype testing: 1-2 hours for assembly and refinement
- Wood cutting: 30 minutes to 3 hours based on piece count
- Initial sanding and edge finishing: 2-4 hours
- First finish coat application and drying: 24 hours minimum
- Optional second coat and final curing: Additional 24-48 hours
- Quality control assembly test: 30 minutes to 2 hours
Consult the wooden puzzle size guide when planning dimensions. Standard sizes balance visual impact with practical assembly considerations. Custom sizes work well for specific spaces or gift presentations.
Over 90% satisfaction rates stem from attention to detail throughout the process. Rushing any stage compromises final quality. Budget adequate time for each phase, especially if creating gifts for special occasions. Starting projects weeks in advance prevents deadline stress.
Expect continuous improvement across multiple projects. Your first puzzle teaches techniques that the second puzzle applies more efficiently. By your fifth project, workflows become intuitive and quality increases noticeably. Embrace the learning curve as part of the creative journey.
Explore Custom and Eco-Friendly Wooden Puzzles at Lubiwood
After mastering puzzle creation fundamentals, explore professionally crafted examples embodying these sustainable principles. Lubiwood offers handcrafted puzzles laser-cut from FSC-certified Baltic birch, demonstrating the quality achievable with proper techniques and materials.
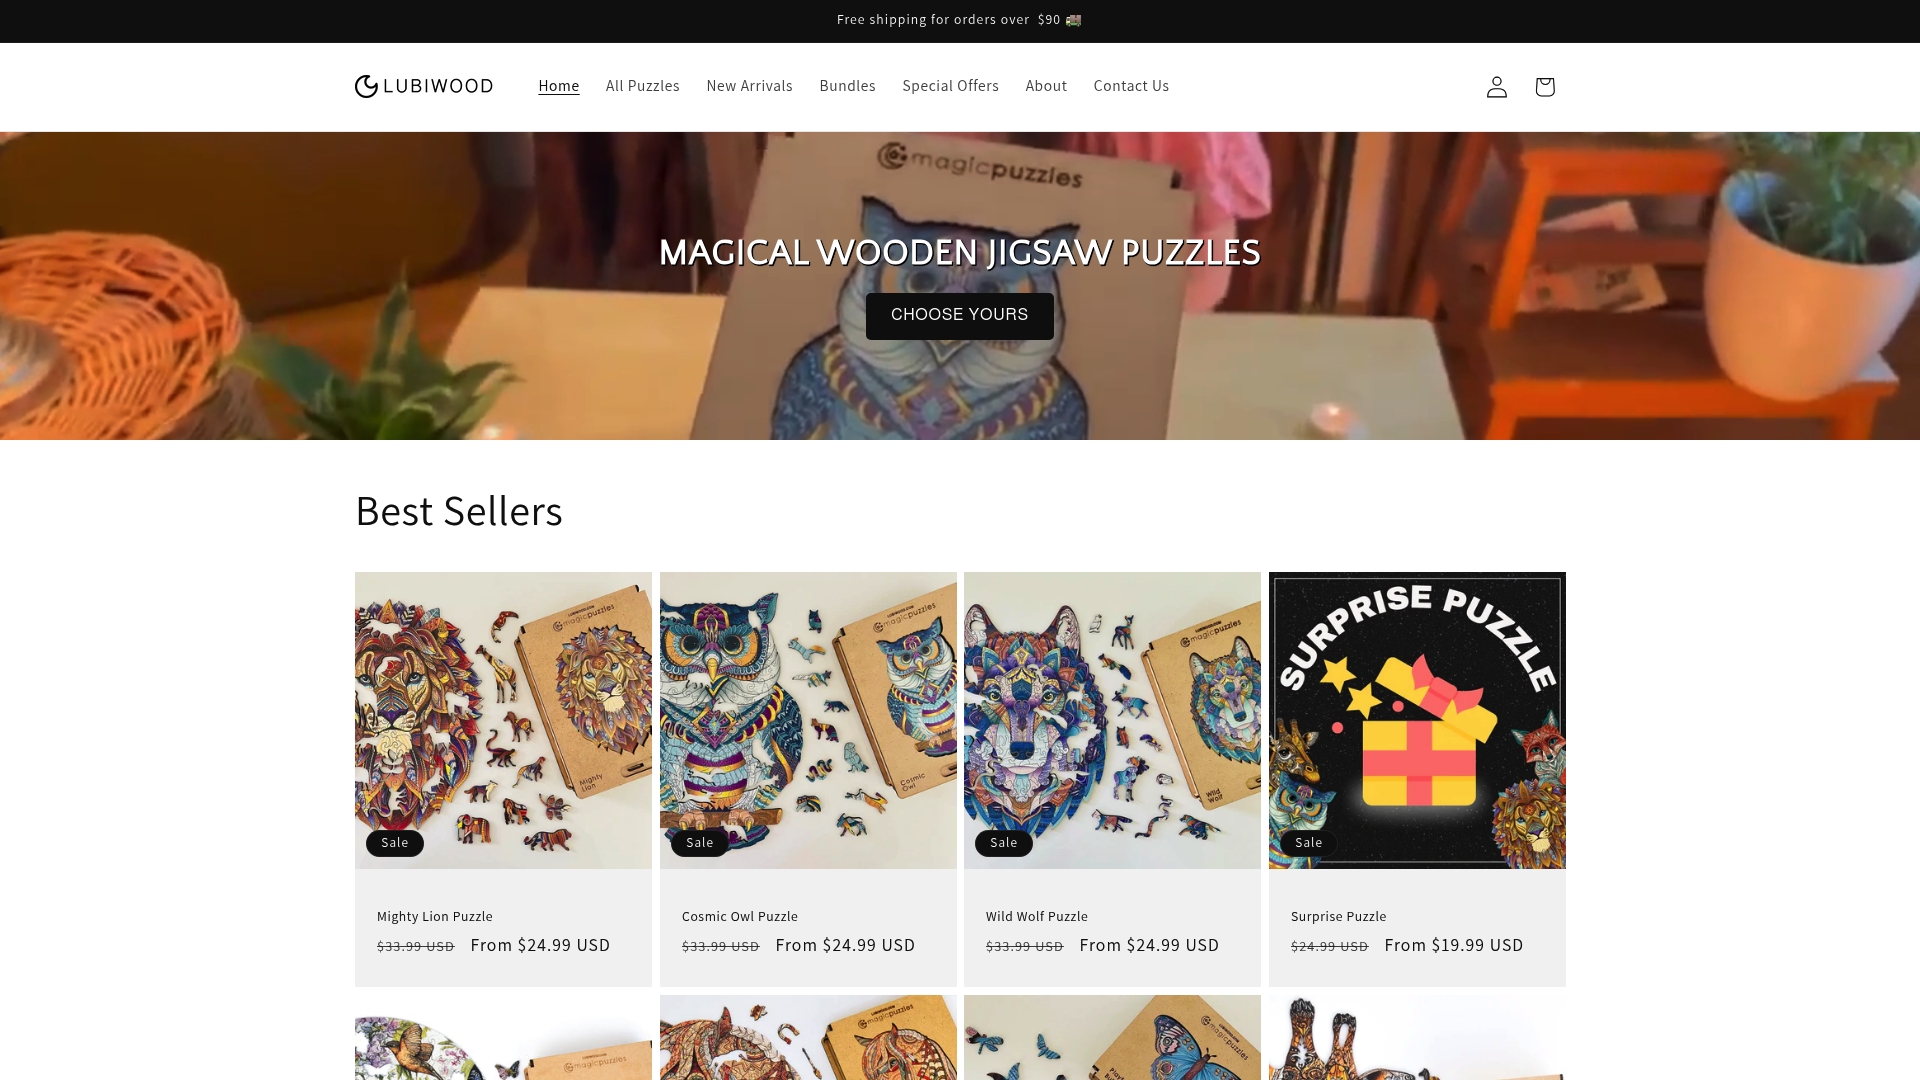
Discover an extensive wooden jigsaw puzzles collection featuring nature scenes, animals, and artistic designs. Each puzzle showcases intricate piece shapes and eco-friendly finishing. For dimensional challenges, browse the 3D wooden puzzles range revealing advanced cutting and assembly techniques.
Learn what makes Lubiwood puzzles special through detailed craftsmanship explanations. Understanding professional standards helps you refine your own work. Whether purchasing finished puzzles or drawing inspiration for custom projects, Lubiwood exemplifies sustainable puzzle excellence.
Frequently Asked Questions
What is the best wood thickness for custom puzzles?
Birch plywood between 3-6 mm provides optimal durability without excessive bulk. Thinner wood breaks easily during assembly while thicker materials create heavy, awkward puzzles. Standard 4 mm thickness works well for most designs.
Can I use a CNC router instead of laser cutting?
Yes, CNC routers handle puzzle cutting effectively, especially for thicker wood up to 12 mm. However, expect less precision than laser cutting with 1.5 mm radius edges versus laser’s 0.1 mm accuracy. CNC works better for 3D puzzle components than flat jigsaws.
How do I ensure safety while laser cutting puzzles at home?
Maintain ventilation providing at least 12 air changes per hour in your workspace using exhaust fans positioned above the cutting area. Wear masks rated for wood smoke and fumes even with proper ventilation. Never leave laser cutters unattended during operation.
What finishes are safe and eco-friendly for puzzles?
Natural oils like linseed or tung oil and water-based sealants avoid toxic chemicals while enhancing durability by 40%. These finishes remain safe for children and pets once fully cured. Verify food-safe certifications if creating puzzles for young children who might mouth pieces.
How long does the finishing process typically take?
Drying times average 24-48 hours per coat depending on temperature, humidity, and finish type. Apply multiple thin coats rather than single thick applications for better results. Allow full curing before packaging, typically 48-72 hours after the final coat.
