You’ve spent hours completing a stunning wooden jigsaw puzzle, and now you want to preserve it as art. Many puzzle lovers struggle with finding display methods that protect their work while enhancing their home decor. This guide walks you through proven techniques to transform finished puzzles into lasting decorative pieces, from selecting adhesives and backing boards to choosing the perfect frame that showcases your craftsmanship.
Table of Contents
- Gathering Materials And Preparing Your Workspace
- Applying Adhesive And Mounting Your Puzzle Securely
- Choosing And Fitting The Right Frame For Display
- Common Challenges And Expert Tips In Displaying Puzzles
- Discover Handcrafted Wooden Puzzles And Accessories
- Frequently Asked Questions
Key takeaways
| Point | Details |
|---|---|
| Essential materials | Puzzle glue and backing boards provide sturdy construction for display. |
| Protection matters | Frames with glass or acrylic covers shield puzzles from dust, UV damage, and handling wear. |
| Workspace preparation | Clean, flat surfaces and proper ventilation ensure smooth adhesive application and professional results. |
| Adhesive application | Multiple thin coats on front and back surfaces create durable bonds that last for years. |
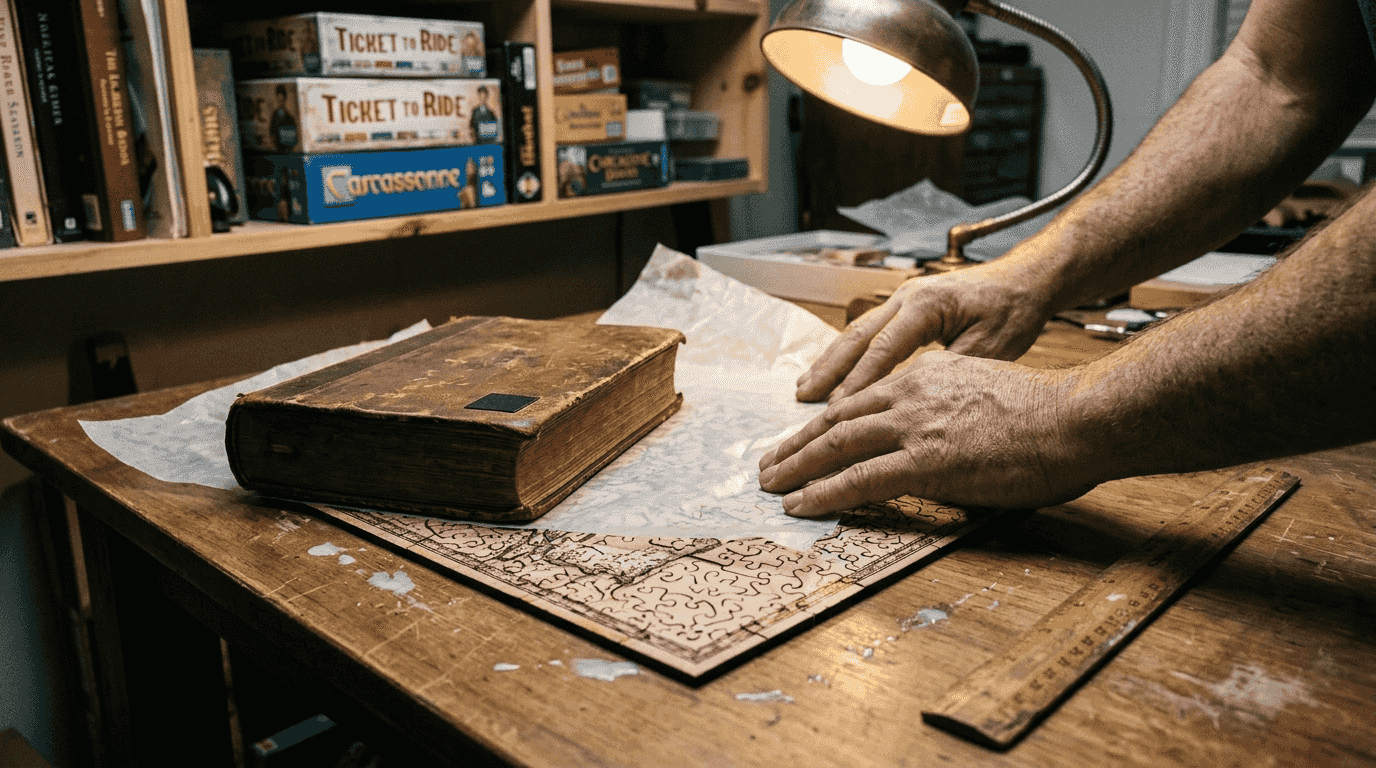
Gathering materials and preparing your workspace
Success starts with assembling the right tools and creating an ideal work environment. Proper workspace preparation prevents common mistakes and protects both your puzzle and surrounding surfaces during the mounting process.
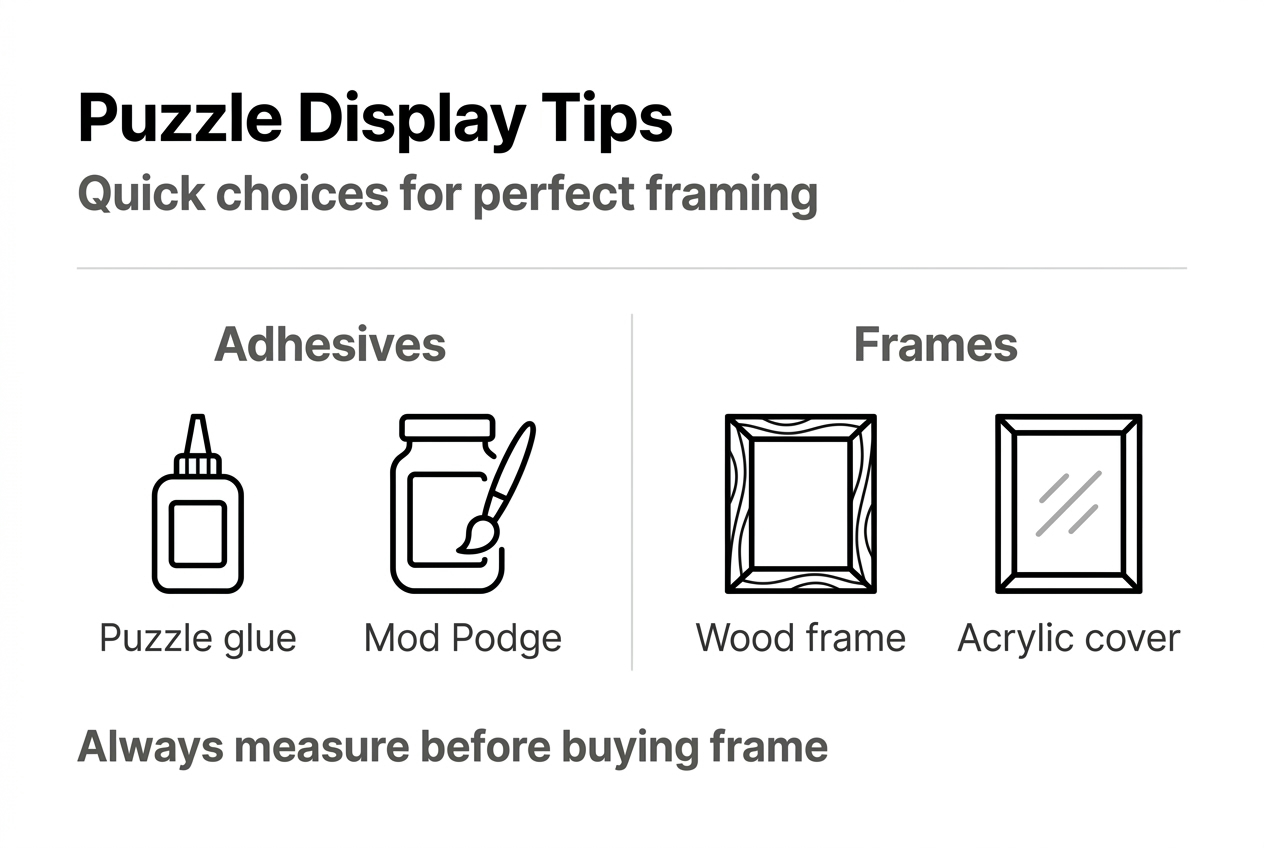
You’ll need these core materials for mounting:
- Puzzle-specific glue or clear adhesive (Mod Podge works well)
- Foam brushes or sponge applicators for even spreading
- Backing board (foam core or cardboard matching puzzle dimensions)
- Picture frame sized to puzzle measurements
- Protective plastic sheeting or newspaper
- Wax paper or parchment paper
- Heavy books or weights for pressing
Choose a flat, sturdy table in a well-ventilated room. Natural light helps you spot gaps or misaligned pieces before gluing. Keep the area dust-free, as particles can stick to wet adhesive and mar your finished display.
Pro Tip: Work on a surface at least six inches larger than your puzzle on all sides. This buffer zone catches drips and gives you space for tools.
Cover your workspace completely with plastic sheeting or thick newspaper layers. Puzzle glue can seep through cracks and bond permanently to tables. Room temperature between 65-75°F helps adhesives cure at optimal speed. Avoid humid environments, which extend drying times and may cause warping.
For wooden puzzles from specialty sources like eco-friendly collections, inspect pieces carefully before starting. Wood grain variations are natural, but damaged edges should be noted for repair.
| Material | Purpose | Estimated Cost |
|---|---|---|
| Puzzle glue (4 oz) | Primary adhesive | $6-$12 |
| Foam core board | Rigid backing | $3-$8 |
| Picture frame | Protection and display | $15-$50 |
| Foam brushes (pack) | Application tools | $2-$5 |
Applying adhesive and mounting your puzzle securely
The gluing process requires patience and precision. Applying adhesive to both surfaces creates maximum durability, ensuring your display piece withstands years of hanging.
Follow these steps for professional results:
-
Verify your puzzle is completely assembled with zero gaps between pieces. Slide a rigid piece of cardboard underneath to transfer it to your prepared workspace without shifting pieces.
-
Pour a quarter-sized amount of puzzle glue onto the puzzle surface. Use a foam brush to spread it evenly across all pieces, working from center to edges. Apply thin, consistent coats rather than heavy globs.
-
Allow the first coat to dry for 30-45 minutes until tacky but not wet. Apply a second coat perpendicular to the first direction for complete coverage.
-
Let the front surface dry completely (2-4 hours depending on humidity). Carefully flip the entire puzzle using two large pieces of cardboard as support.
-
Apply glue to the puzzle back using the same technique. This step significantly strengthens the bond and prevents pieces from separating over time.
-
While the back is still slightly tacky, position your backing board on top. Press firmly but gently, working from center outward to eliminate air bubbles.
-
Flip the puzzle back over (backing board now on bottom). Place wax paper over the surface, then stack heavy books evenly across the entire puzzle. Let cure for 24 hours minimum.
Pro Tip: Test your chosen adhesive on a spare puzzle piece first. Some formulas yellow over time or react poorly with certain wood finishes. Visit puzzle saver resources for application demonstrations.
During curing, resist the urge to check progress. Moving weights or peeling back wax paper can create permanent marks or weak spots. Room temperature stability matters more than speed at this stage.
Choosing and fitting the right frame for display
Your frame selection affects both visual appeal and long-term preservation. Proper framing protects and enhances completed puzzles, transforming them from crafts into gallery-worthy art pieces.
Frame materials offer different benefits:
- Wood frames provide classic elegance and complement wooden puzzle pieces beautifully, creating cohesive artistic statements
- Metal frames deliver modern aesthetics with slim profiles that emphasize puzzle imagery over border decoration
- Plastic frames offer budget-friendly options in numerous colors, ideal for children’s rooms or casual spaces
Glass versus acrylic covers present trade-offs. Glass provides superior clarity and scratch resistance but adds significant weight. Acrylic weighs half as much, resists shattering, and blocks UV rays effectively. For puzzles with intricate details or laser-cut wooden elements, acrylic prevents color fading over decades.
Measure your mounted puzzle precisely, including backing board thickness. Standard frame sizes (16×20, 18×24, 24×36 inches) accommodate most puzzles, but custom framing ensures perfect fits for unique dimensions. Consult sizing guides before purchasing frames to avoid costly returns.
| Frame Type | Best For | Price Range | Durability |
|---|---|---|---|
| Wood | Classic decor, heirloom pieces | $25-$80 | Excellent |
| Metal | Modern spaces, lightweight needs | $20-$60 | Very good |
| Plastic | Casual display, kids’ rooms | $10-$35 | Good |
Insert a thin mat board or clear plastic sheet between your puzzle and the frame’s glass surface. This spacer prevents pieces from sticking, especially in humid climates where condensation can form. The gap also protects raised wooden pieces from compression damage.
Common challenges and expert tips in displaying puzzles
Even experienced puzzlers encounter obstacles when mounting displays. Learning from common mistakes saves time and prevents damage to irreplaceable completed works.
Avoid these frequent errors:
- Gluing incomplete puzzles: Missing pieces create permanent gaps that can’t be fixed after adhesive dries. Double-check every section before applying glue.
- Using wrong adhesives: White school glue can yellow or crack over time. Puzzle-specific formulas maintain clarity and flexibility for decades.
- Skipping back reinforcement: Front-only gluing leaves puzzles vulnerable to piece separation when handled or moved.
- Forcing oversized puzzles into small frames: Compressed edges warp and pieces can pop loose under pressure.
Pro Tip: If pieces feel loose after mounting, apply a thin third coat of glue and let cure for an additional 24 hours. Better to invest extra time than risk display failure.
Troubleshoot specific issues effectively. For puzzles sticking to glass, humidity is usually the culprit. Place silica gel packets in frame corners or move displays to drier rooms. If colors appear dull after framing, remove the glass and verify you haven’t trapped dust or glue residue against the surface.
“Always use a glue specifically designed for puzzles to avoid yellowing or damage. Quality adhesives preserve both colors and structural integrity for generations.” Expert framing advice
For handcrafted wooden puzzles with unique shapes or thickness variations, standard frames may not accommodate depth properly. Shadow box frames with deeper profiles work beautifully for three-dimensional pieces. Explore wooden puzzle framing techniques tailored to laser-cut designs.
Test lighting before final placement. Direct sunlight fades colors rapidly, even through UV-protective glass. Position displays on walls perpendicular to windows or use LED picture lights for dramatic evening presentation.
Discover handcrafted wooden puzzles and accessories
Now that you’ve mastered display techniques, explore puzzle collections designed specifically for showcasing as art. Lubiwood offers handcrafted wooden jigsaw puzzles with intricate laser-cut designs that transform any room into a gallery of craftsmanship.
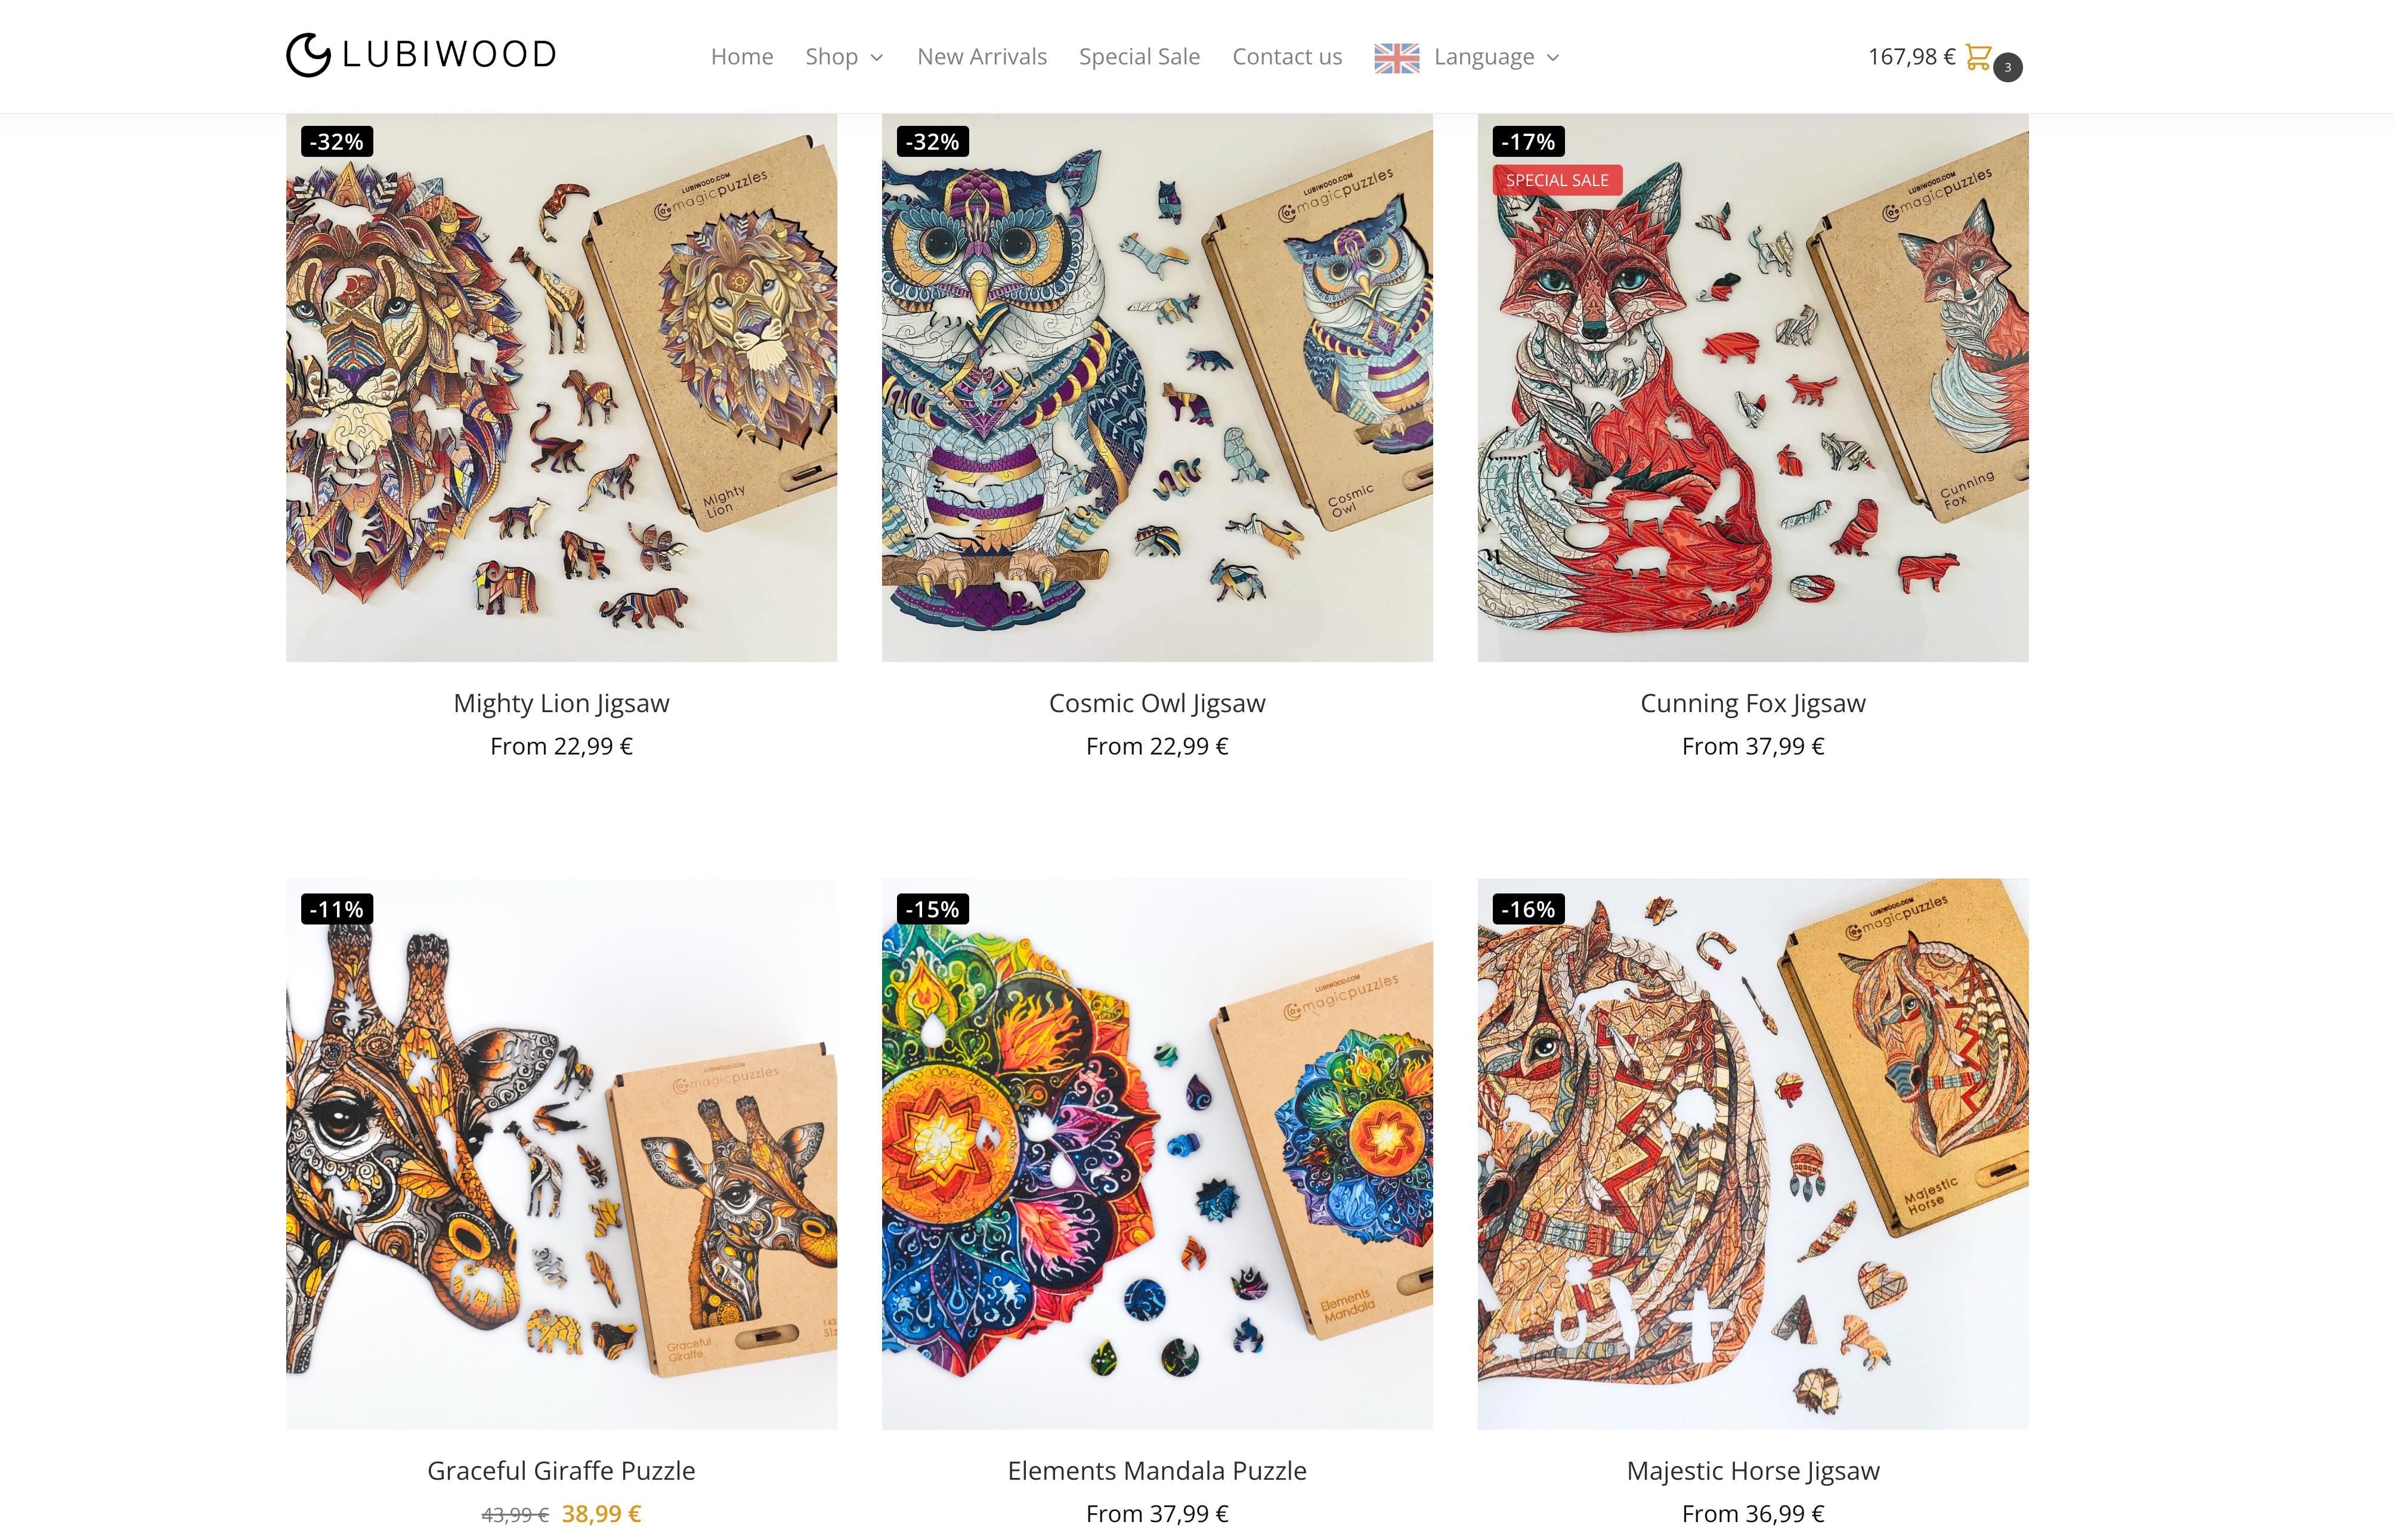
Each puzzle features unique grain patterns and precision-cut pieces that fit together seamlessly, making mounting and framing straightforward. Browse 3D wooden puzzle options for dynamic displays that add depth to your decor. Access the comprehensive wooden puzzle size guide to match puzzles with perfect frame dimensions before purchase. Premium wooden puzzles deserve premium presentation, and Lubiwood provides both the art and the knowledge to display it beautifully.
Frequently asked questions
What is the best adhesive for mounting jigsaw puzzles?
Puzzle glue or Mod Podge are the preferred options for their durability and clarity. These specialized adhesives dry clear, remain flexible, and resist yellowing over decades. White school glue often cracks and discolors, making it unsuitable for permanent displays.
Can I display puzzles without framing them?
Yes, mounting boards or display easels let you showcase puzzles without traditional frames. This approach works well for temporary exhibits or rotating collections. However, unframed puzzles lack protection from dust, UV damage, and accidental contact. Consider clear acrylic covers for frameless displays if you want protection without borders.
How do I prevent my puzzle from sticking to the glass in the frame?
Place a clear plastic sheet or thin mat board between your puzzle and the glass surface. This barrier prevents moisture condensation from bonding pieces to glass, especially important in humid environments. The spacer also protects raised wooden elements from compression damage while maintaining visual clarity.
What size frame should I choose for my wooden jigsaw puzzle?
Measure your completed puzzle including backing board before shopping for frames. Consult the wooden puzzle size guide to match puzzle dimensions with standard frame sizes like 16×20 or 18×24 inches. Custom framing ensures perfect fits for unusual shapes but costs more than standard options. Allow quarter-inch clearance on all sides for easy insertion.
